When publishing and distributing videos, whether for news reports, TV shows, or entertainment, it is crucial to protect the identity of individuals appearing on screen. Blurring faces and license plates is an essential step in respecting privacy and confidentiality.
Why Blurring Is Essential
Manual blurring of each face and license plate can be tedious and time-consuming, especially for large videos. Fortunately, After Effects offers various solutions to automate this process, saving you precious time.
Different Blurring Options in After Effects
After Effects provides several blurring techniques, each with its own advantages and applications. In this article we will show you how to blur in After Effects.
1. Manual Blurring
This method involves manually tracking and masking each face or license plate to apply the blur effect on Adobe After Effects. While time-consuming, it offers precise control over the blurred area.
Steps:
- Import Footage and Create a New Composition: Import your video footage and drag it into the timeline to create a new composition.
- Track Motion: Select your footage layer and go to Window > Tracker to open the Tracker panel. Click Track Motion and choose Position, Rotation, and Scale as needed. Place the track points on the face and click the Analyze Forward button to track the motion.
- Attach Null Object: Create a new Null Object by going to Layer > New > Null Object. In the Tracker panel, set the Edit Target to the null object and click Apply.
- Create Adjustment Layer and Mask: Create an adjustment layer and apply a Gaussian Blur. Mask the face using the Pen Tool and parent the adjustment layer to the null object to ensure the blur follows the tracked motion.
2. Using Mocha AE for Tracking
Mocha AE is a third-party plugin that offers advanced tracking capabilities for complex blurring tasks.
Steps:
- Import Footage and Create a New Composition: Import your video footage and create a new composition.
- Open Mocha AE: Select your footage layer, then go to Animation > Track in Mocha AE.
- Track the Face in Mocha AE: In Mocha AE, use the X-spline or Bezier tool to draw a mask around the face. Track the motion of the face by clicking the Track Forward button.
- Export Tracking Data: Once tracking is complete, go to the Export Tracking Data option. Choose After Effects Mask and copy the data to the clipboard.
- Paste Tracking Data in After Effects: Back in After Effects, create a new adjustment layer and apply Gaussian Blur. Select the adjustment layer and paste the tracking data (Edit > Paste) to apply the mask and tracking data to the adjustment layer.
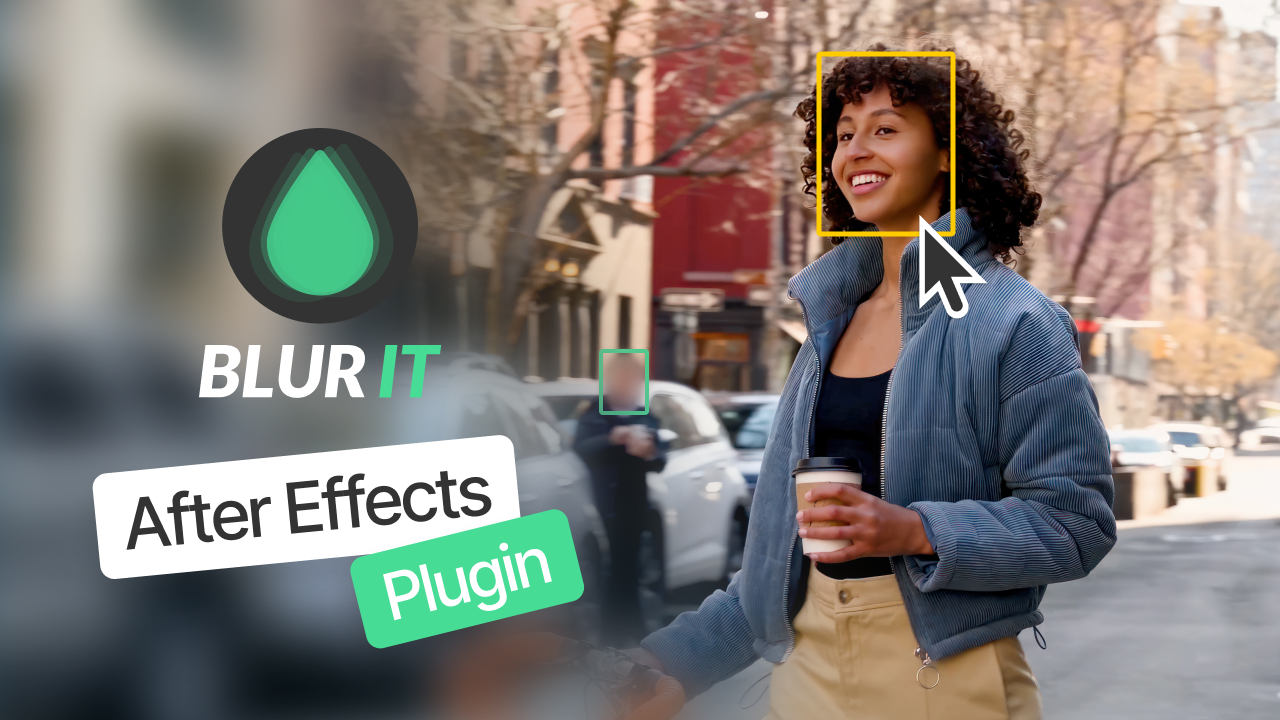
3. Automatic Blurring with BlurIt
For faster and more efficient blurring, especially for long videos with a large number of faces and license plates, consider using BlurIt—a revolutionary plugin for After Effects that stands out in the market.
BlurIt is a powerful, state-of-the-art plugin that utilizes advanced face and license plate detection to automatically blur these elements in your video. It is the first of its kind, perfect for post-production, and ideal for both individuals and professionals.
Benefits:
- Innovative Technology: BlurIt employs cutting-edge detection algorithms, making it a unique and first-of-its-kind solution on the market.
- Automatic Blurring: BlurIt intelligently identifies and blurs faces and license plates, ensuring privacy without compromising video quality.
- Efficiency and Precision: Automate the blurring process, saving significant time and effort for other editing tasks, and achieving professional results effortlessly.
- Ideal for All Users: Perfect for post-production professionals and casual users alike, BlurIt is designed to meet a wide range of blurring needs.
Steps:
- Download and Install BlurIt: Download the BlurIt plugin from its official website and follow the installation instructions.
- Open After Effects and Import Video: Launch After Effects and import the video you want to blur.
- Apply BlurIt Effect: Go to Effects > Blur and Sharpen > BlurIt. Enter your BlurIt credentials and let the plugin work its magic. It will automatically detect and blur faces and license plates.
- Review and Adjust: Quickly review the detections to ensure the desired blurring effect is achieved.
Conclusion
Blurring faces and license plates is crucial to protect privacy and comply with regulations when publishing videos. After Effects offers various blurring methods, from manual masking to advanced tracking and the innovative, state-of-the-art automatic detection plugin BlurIt. By leveraging these tools, you can efficiently enhance privacy while maintaining video quality, making the process seamless for both professionals and individual users.