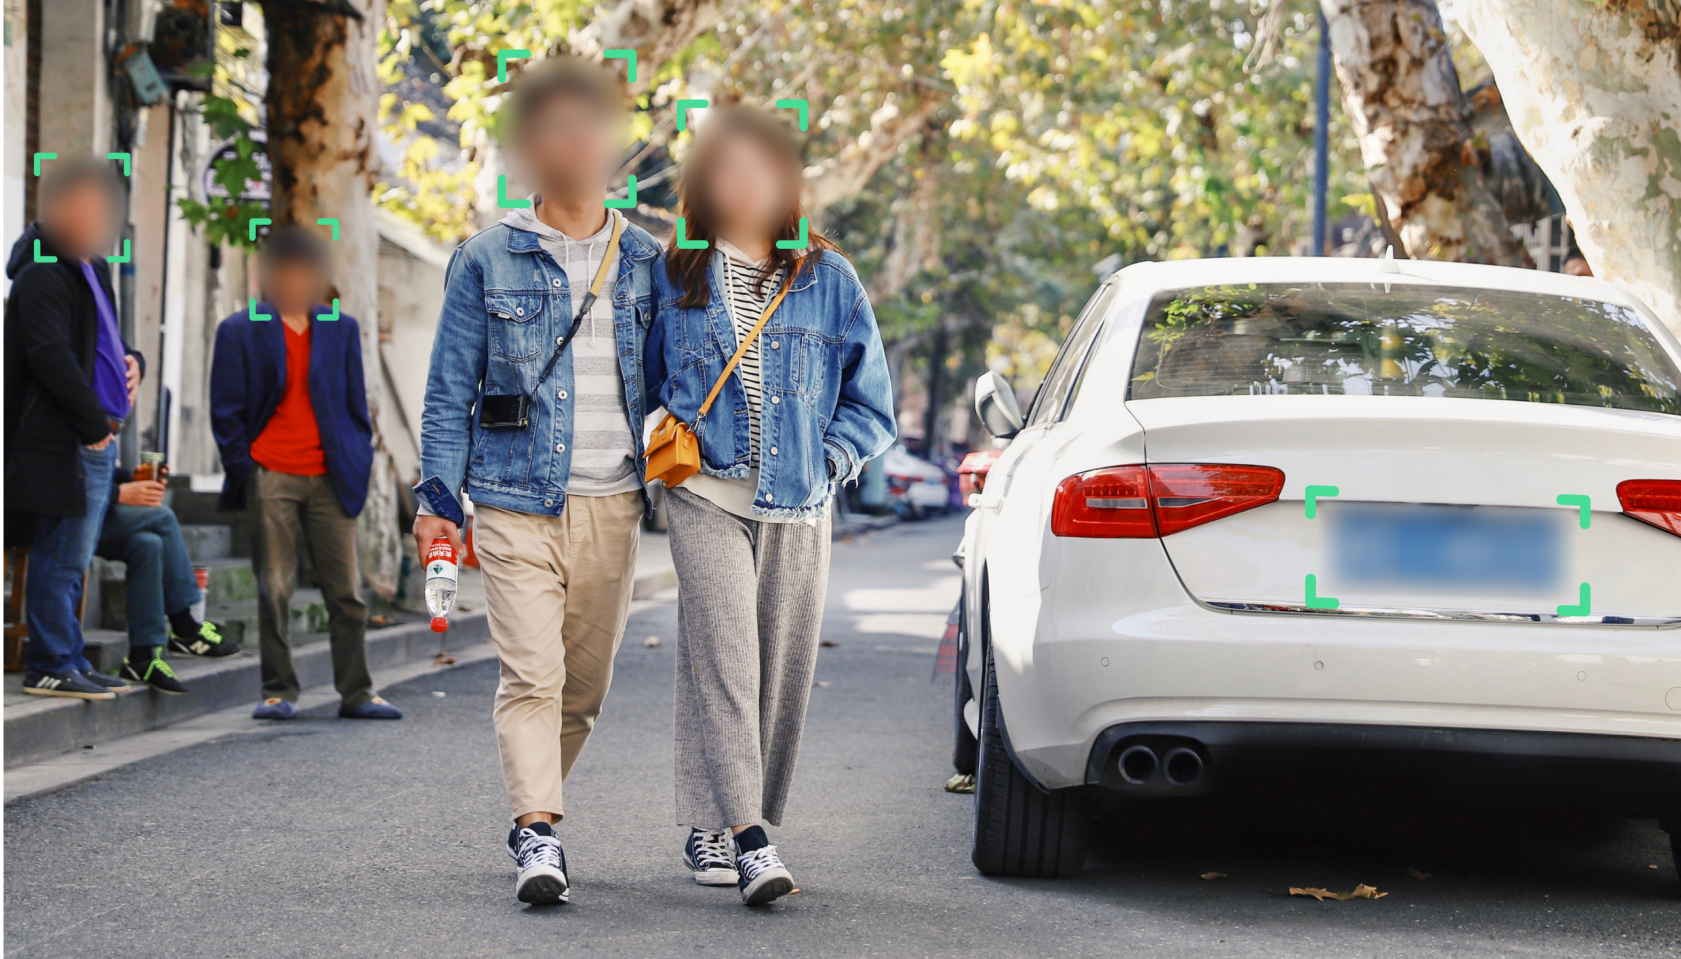
Blurring images can be a powerful way to add emphasis, protect privacy, or create artistic effects in your photographs. In today’s digital world, many people turn to online tools to make these adjustments quickly and easily. One such tool is BlurIt, an intuitive and user-friendly platform that makes blurring images a breeze. In this article, we’ll walk you through the simple steps to use BlurIt for your image-editing needs.
Step 1: Access the BlurIt Website
To get started, visit the Blurring platform. The site is designed to work with various devices and browsers, so whether you’re using a desktop computer, tablet, or smartphone, you can access our website without any issues.
Step 2: Upload Your Image or video
Once you’re on the blurring platform, you’ll notice an “Anonymize my file” button at the top right of the screen. Click or tap this button to select the image or video you want to blur from your device. BlurIt supports various image formats, including JPEG, PNG,JPG and for videos avi, mp4, mov, mkv.
If you have a big number of files, you can choose our advanced bulk feature and process up to 2GB of zip file in one shot.
Step 3: Choose your options
After uploading your image, you’ll see it appear on the screen with a toolbar on the right side. The toolbar offers several options, blur faces, blur license plates or generate a json file.
Step 4: Confirm your choose :
Once you have selected your parameters, please confirm your choices. After confirming, the processing will start on the processing file list.
Step 5: Download Your Blurred Image
Once you’re file processed, you can download it at the right corner of the screen. And enjoy your result.
Conclusion:
BlurIt is an incredibly user-friendly and versatile online tool for blurring images. With just a few clicks you can protect sensitive information. Our solution is also available through API and On-premise to meet all the needs and use cases.
Give BlurIt a try and discover how easy it is to enhance your images with professional-quality blurring effect.
