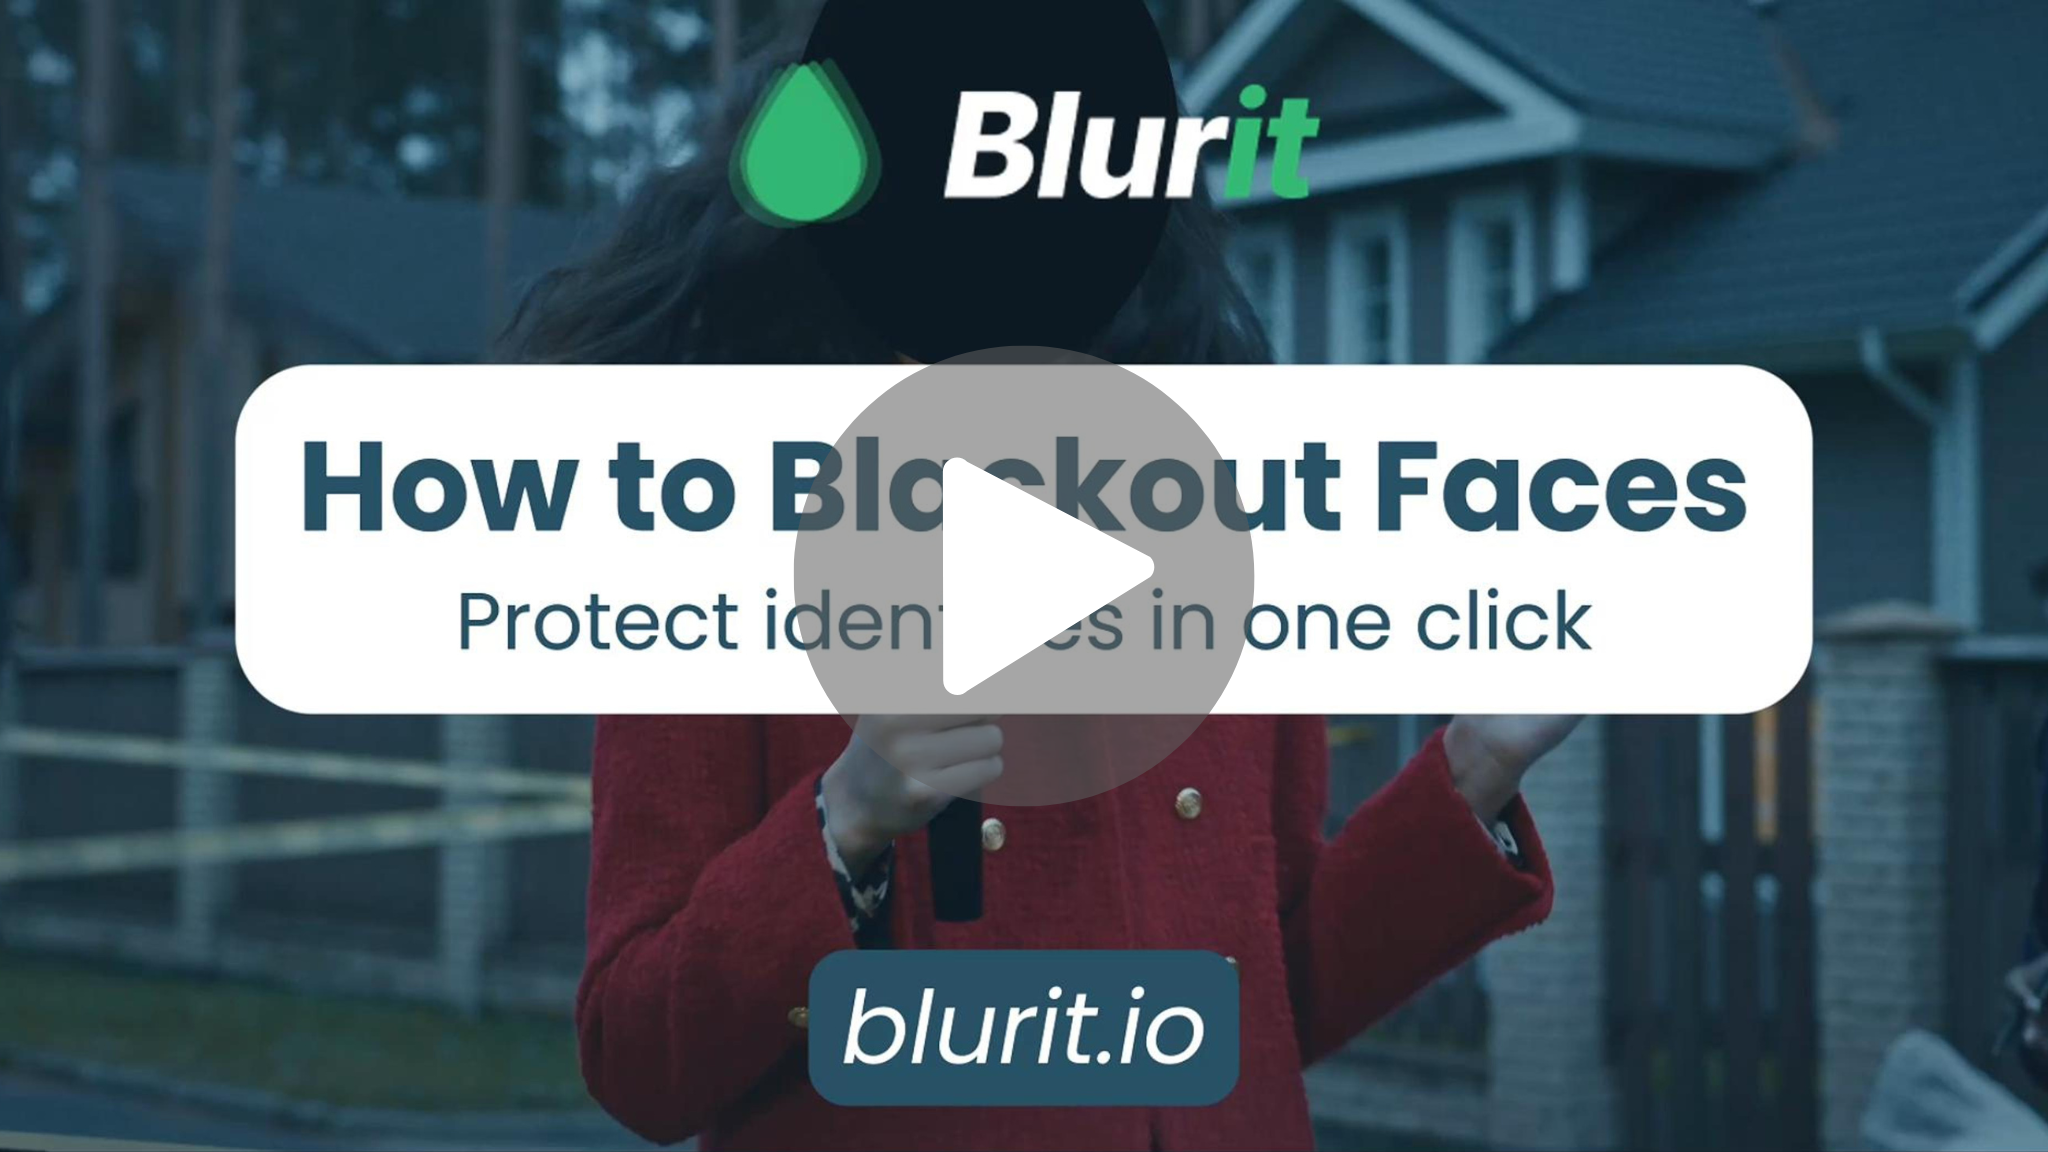
Quick Overview – Blackout Faces with BlurIt
To black out a face in an image or video using BlurIt, just upload your file, let the tool automatically detect all visible faces, choose which ones you want to hide, preview the change, and then export your final version. BlurIt offers a straightforward yet highly accurate way to mask identities, whether for privacy protection, legal compliance, or concealing sensitive details.
Complete Guide: Blacking Out Faces with BlurIt
In a world where privacy concerns and strict regulations are increasingly important, removing visible facial features from videos can be essential. This can be necessary for meeting privacy laws, ensuring compliance with ADAS (Advanced Driver-Assistance Systems) guidelines, maintaining anonymity in law enforcement recordings, or processing surveillance material without revealing personal identities.
BlurIt is a professional-grade platform designed to make this process quick and effective. Known for its precision, it is trusted by security teams, mobility specialists, and video editors who value both accuracy and speed.
Why Choose BlurIt?
BlurIt merges AI-powered automatic face recognition with detailed manual controls, allowing you to decide exactly which faces get blacked out. Its simple, streamlined interface ensures that even first-time users can achieve professional results.
Step-by-Step: How to Black Out a Face with BlurIt
1.Upload Your File
Add your video or image to BlurIt, select the option to hide faces, and choose the “blackout” masking effect.
2.Processing step
BlurIt will analyze your file, detecting faces automatically. The processing time will depend on factors like resolution, file size, and frame rate.
3.Preview the Result
Before finalizing, watch the processed video to confirm that the right faces are hidden and the effect looks as intended.
4.Fine-Tune if Necessary
Open the BlurIt Studio editor if adjustments are needed. Faces will be marked with green boxes—these can be moved, disabled, or new ones can be added.
5.Export Your Finished File
Once satisfied, hit “Re-render” to produce the final video. You can also “Save” your project to revisit and edit later.